February is almost over, making way for both the mild weather of spring and the season’s annual convention for the International Concrete Repair Institute (ICRI).
With the two events combined, it’s hard not to feel excited! After all, who doesn’t want to take a little bit of time to enjoy some sun and network with colleagues?
It doesn’t hurt that the ICRI’s latest convention theme is particularly thought-provoking. This year, the organization’s theme is all about handling repairs that happen during new construction. And with the event’s subtitle exclaiming that you should prepare for the unexpected, you may wonder: are you actually prepared?
We all know concrete can be prone to cracking, so we do our best to prevent it. But of course, not everything works out the way we expect it to. Concrete can crack for a number of reasons, and it can be difficult to guard against them all. For instance, according to the ICRI’s publication, the Concrete Repair Bulletin, there are at least several culprits that increase the likelihood of concrete cracks. They can involve steel corrosion, freezing and thawing, a sulfate attack, and an alkali-aggregate reaction.
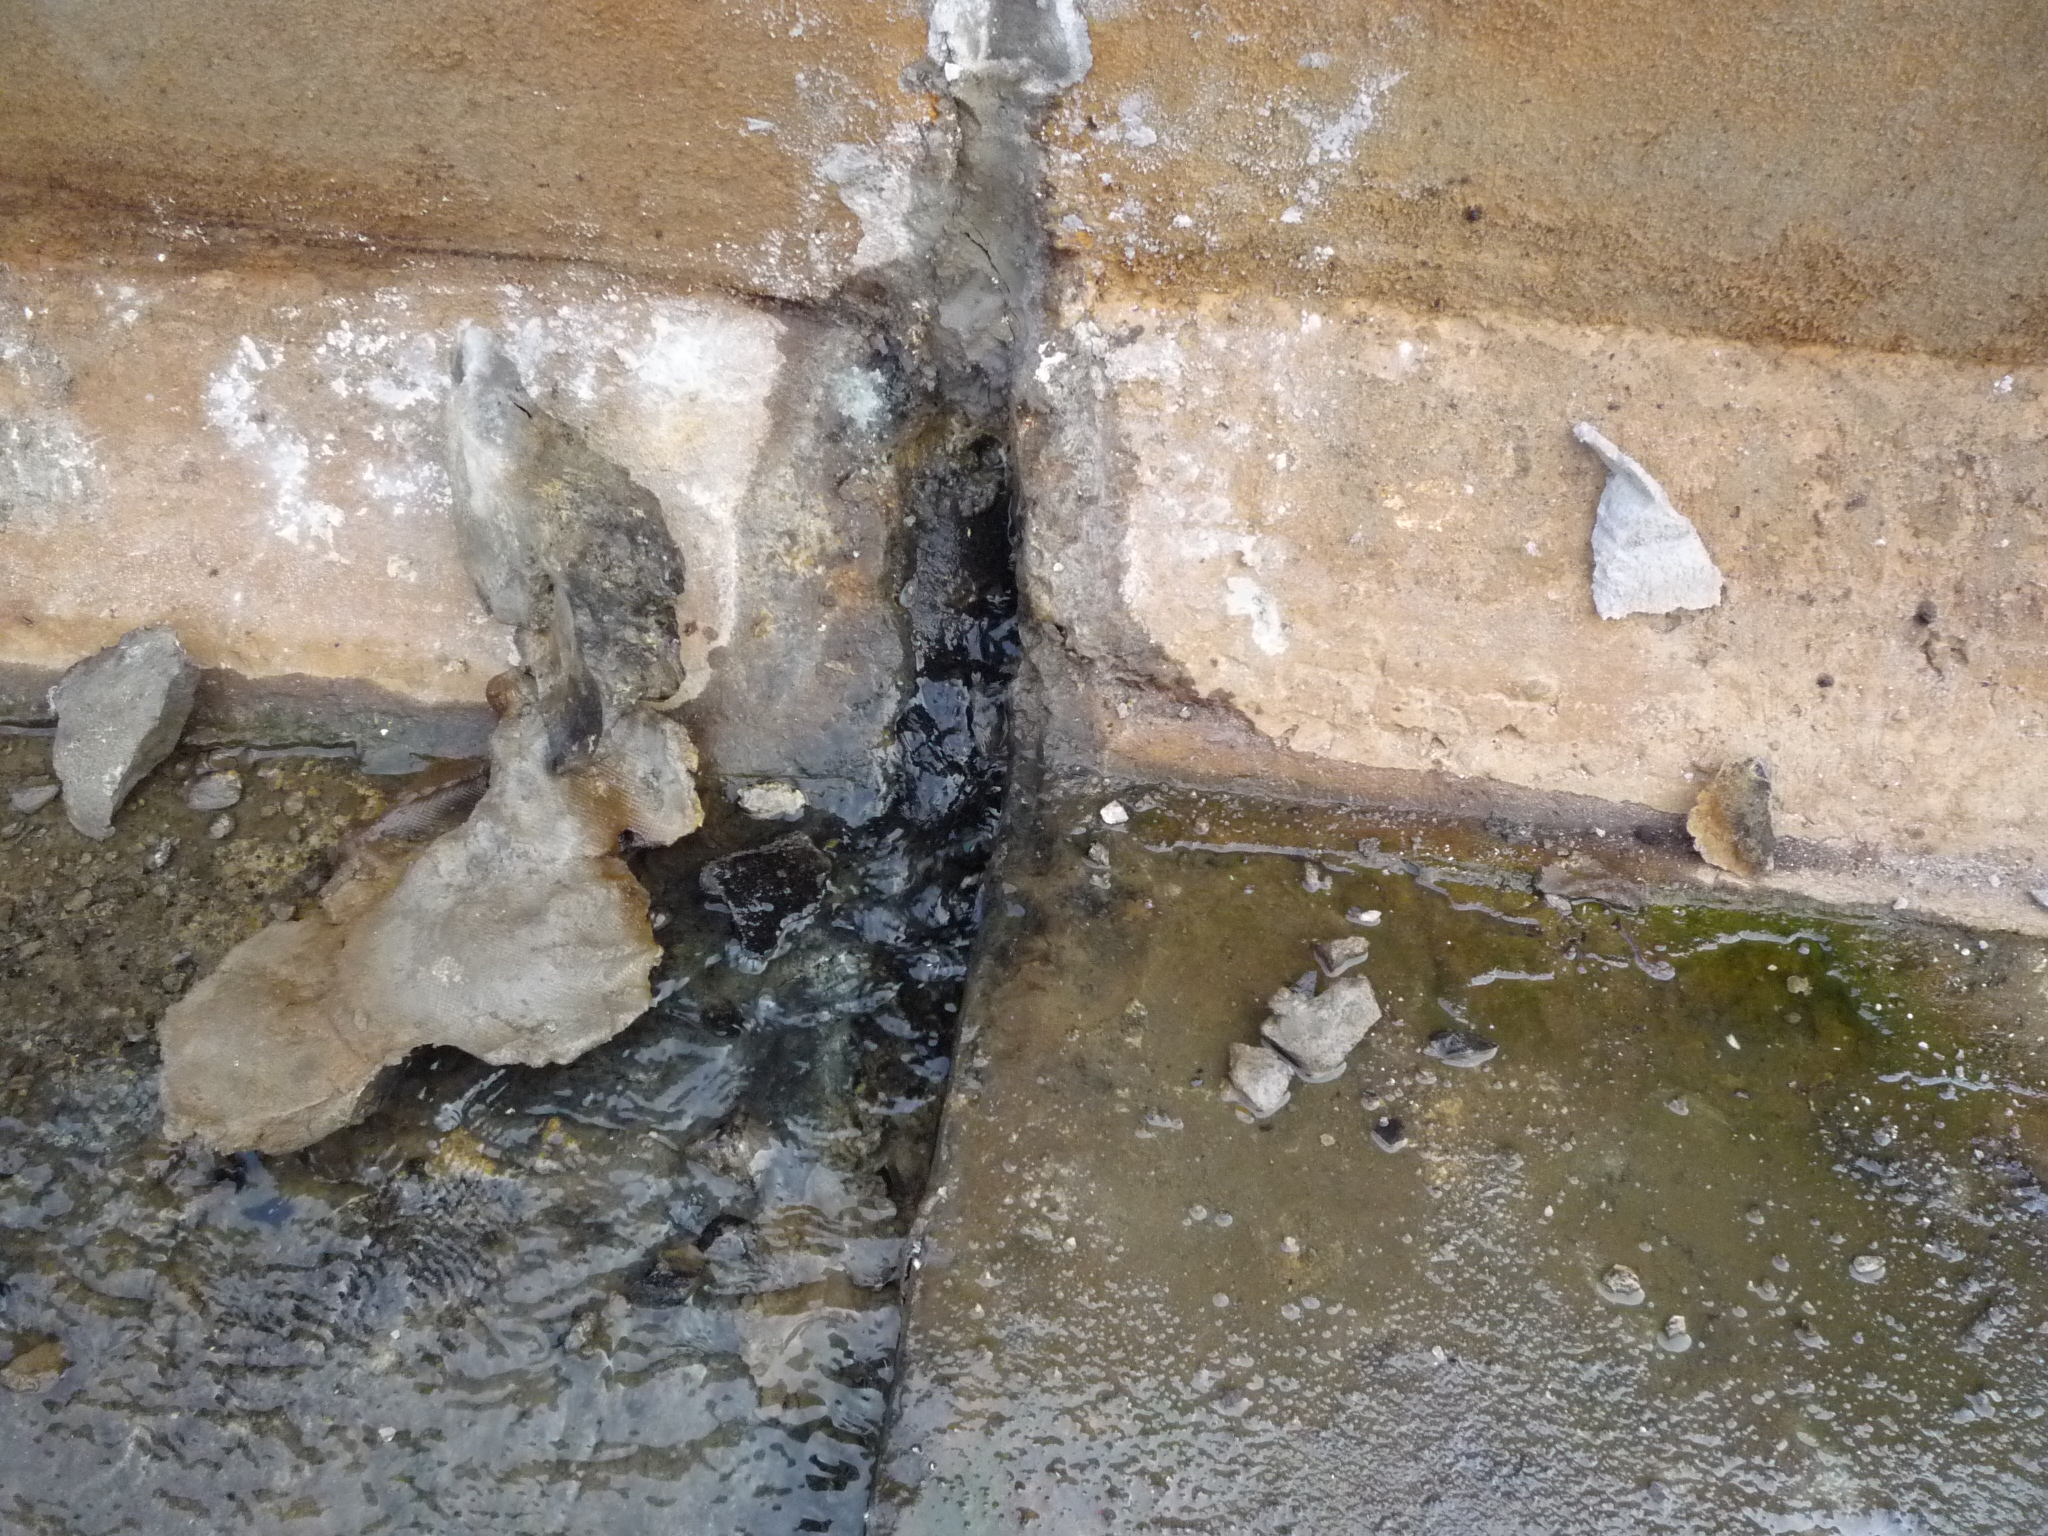
But however a concrete crack forms, it can seem even worse if you find it’s started to leak.
If all this has you feeling a little unprepared, don’t worry! We’re here to give you an easy rundown of the best way to repair most concrete leaks (and the concrete cracks they come from!).
Start By Preparing the Leaking Concrete Crack
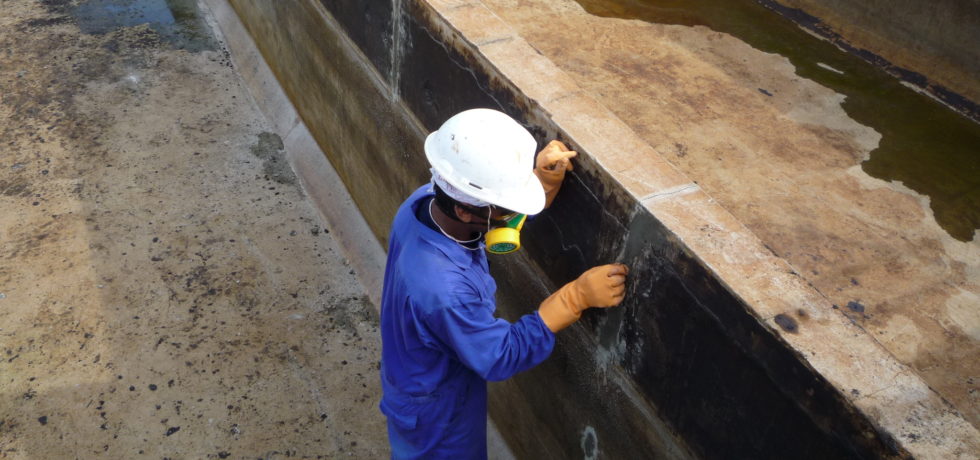
Whatever leaking concrete crack you’re hoping to fix up, make sure you prepare it first. It’s the only guaranteed way to make sure the crack is completely waterproof once repaired.
To do that, just follow these three easy steps:
- Get out your electric chipping hammer.
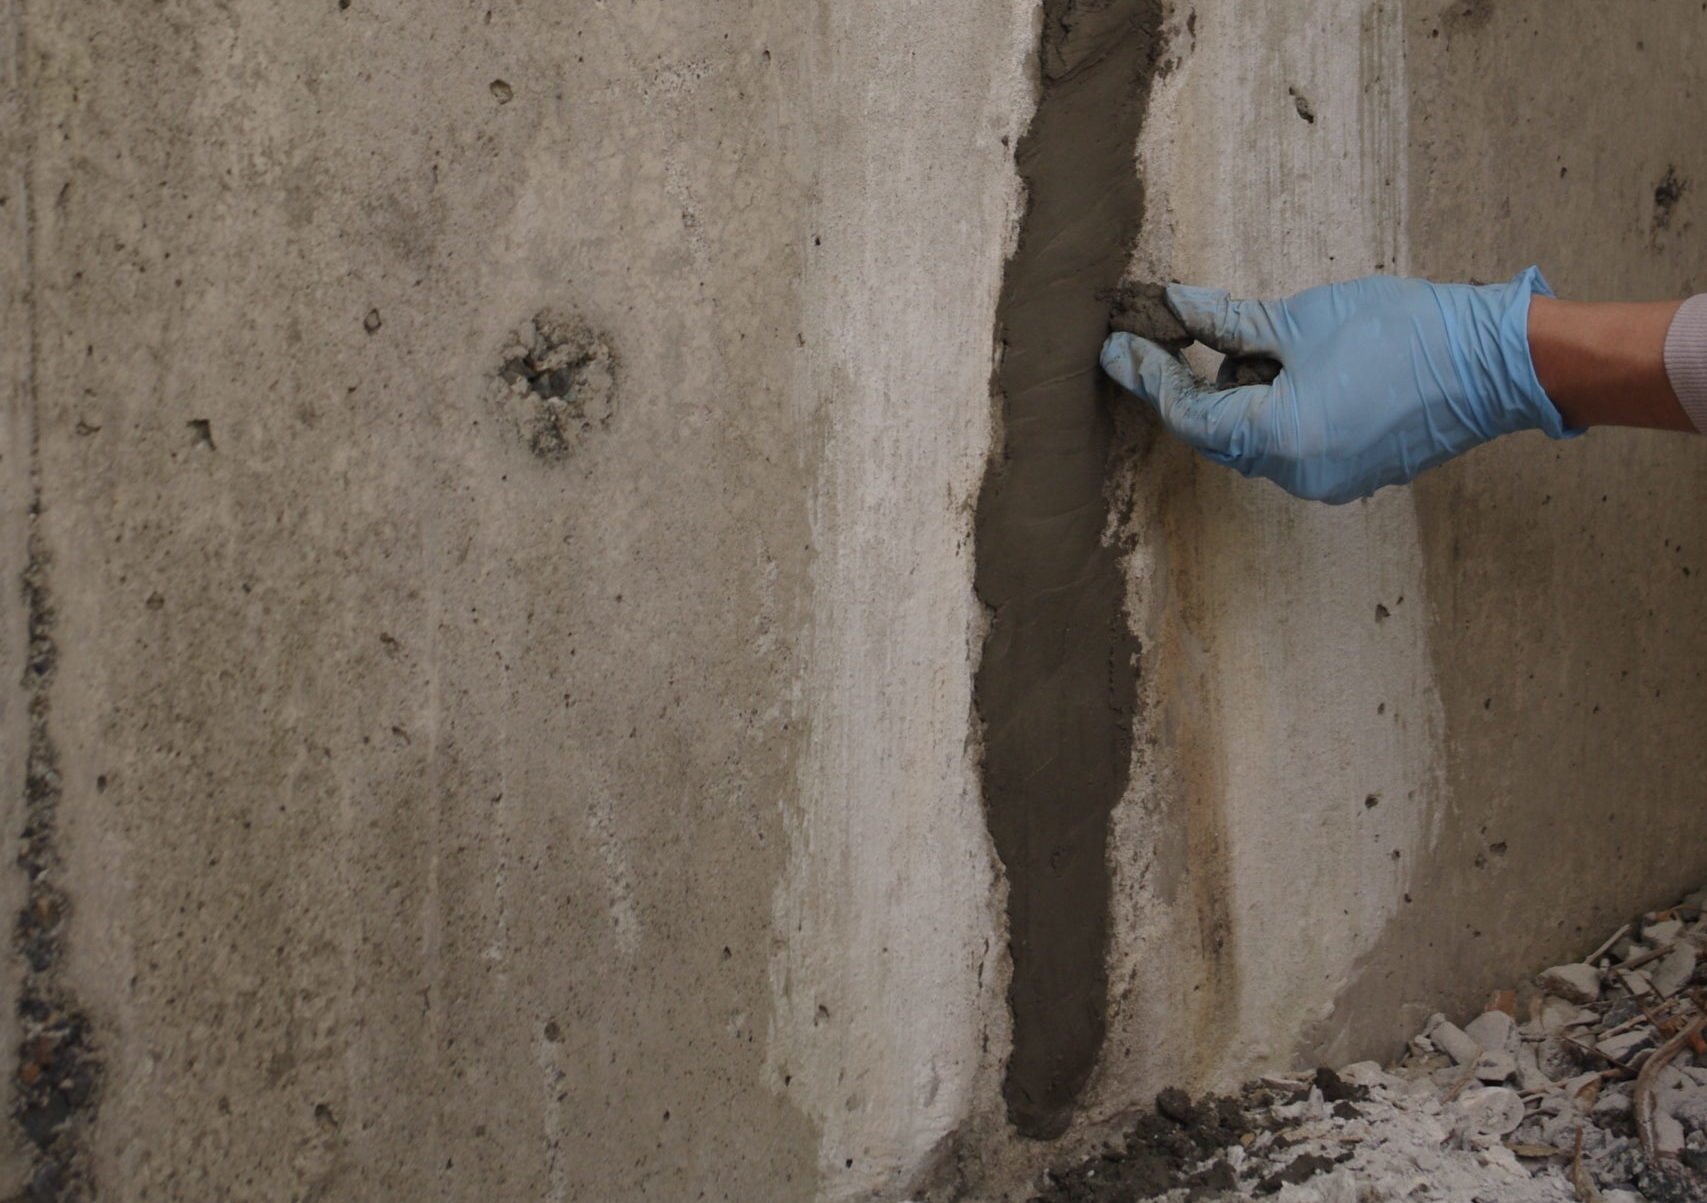
- Chisel through the entire length of the crack to create a deep, narrow chase.
- Prepare to fill in the chase you just made.
Do Your Best to Avoid Using an Injection Product Afterward
You might be tempted to fill in that chase with an injection product, but try not to.
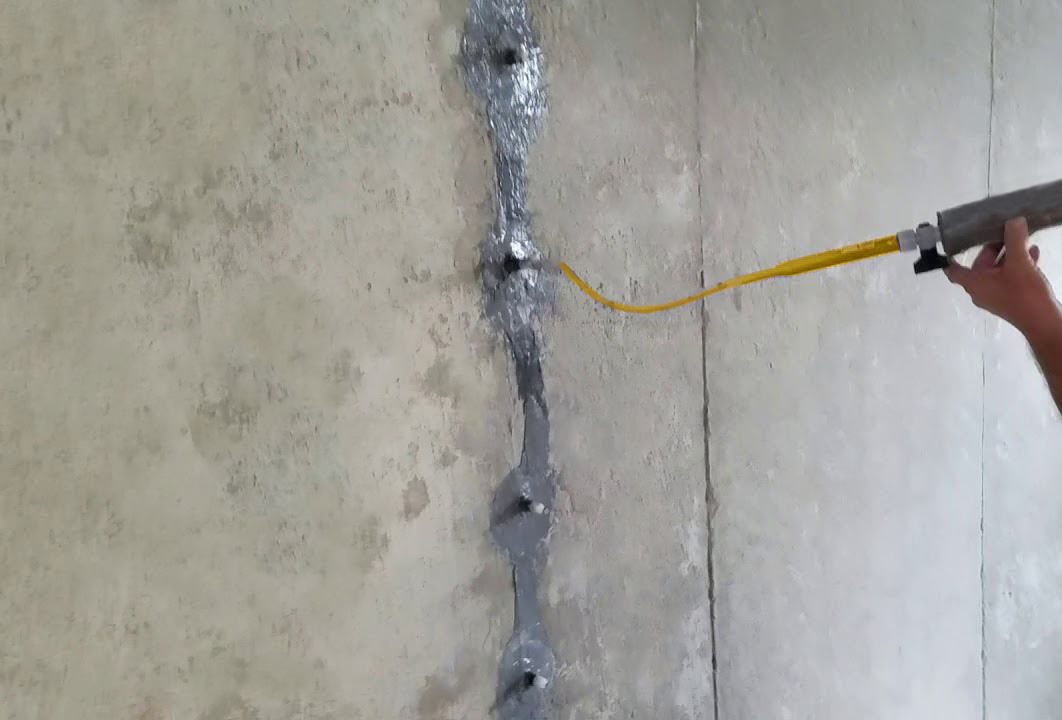
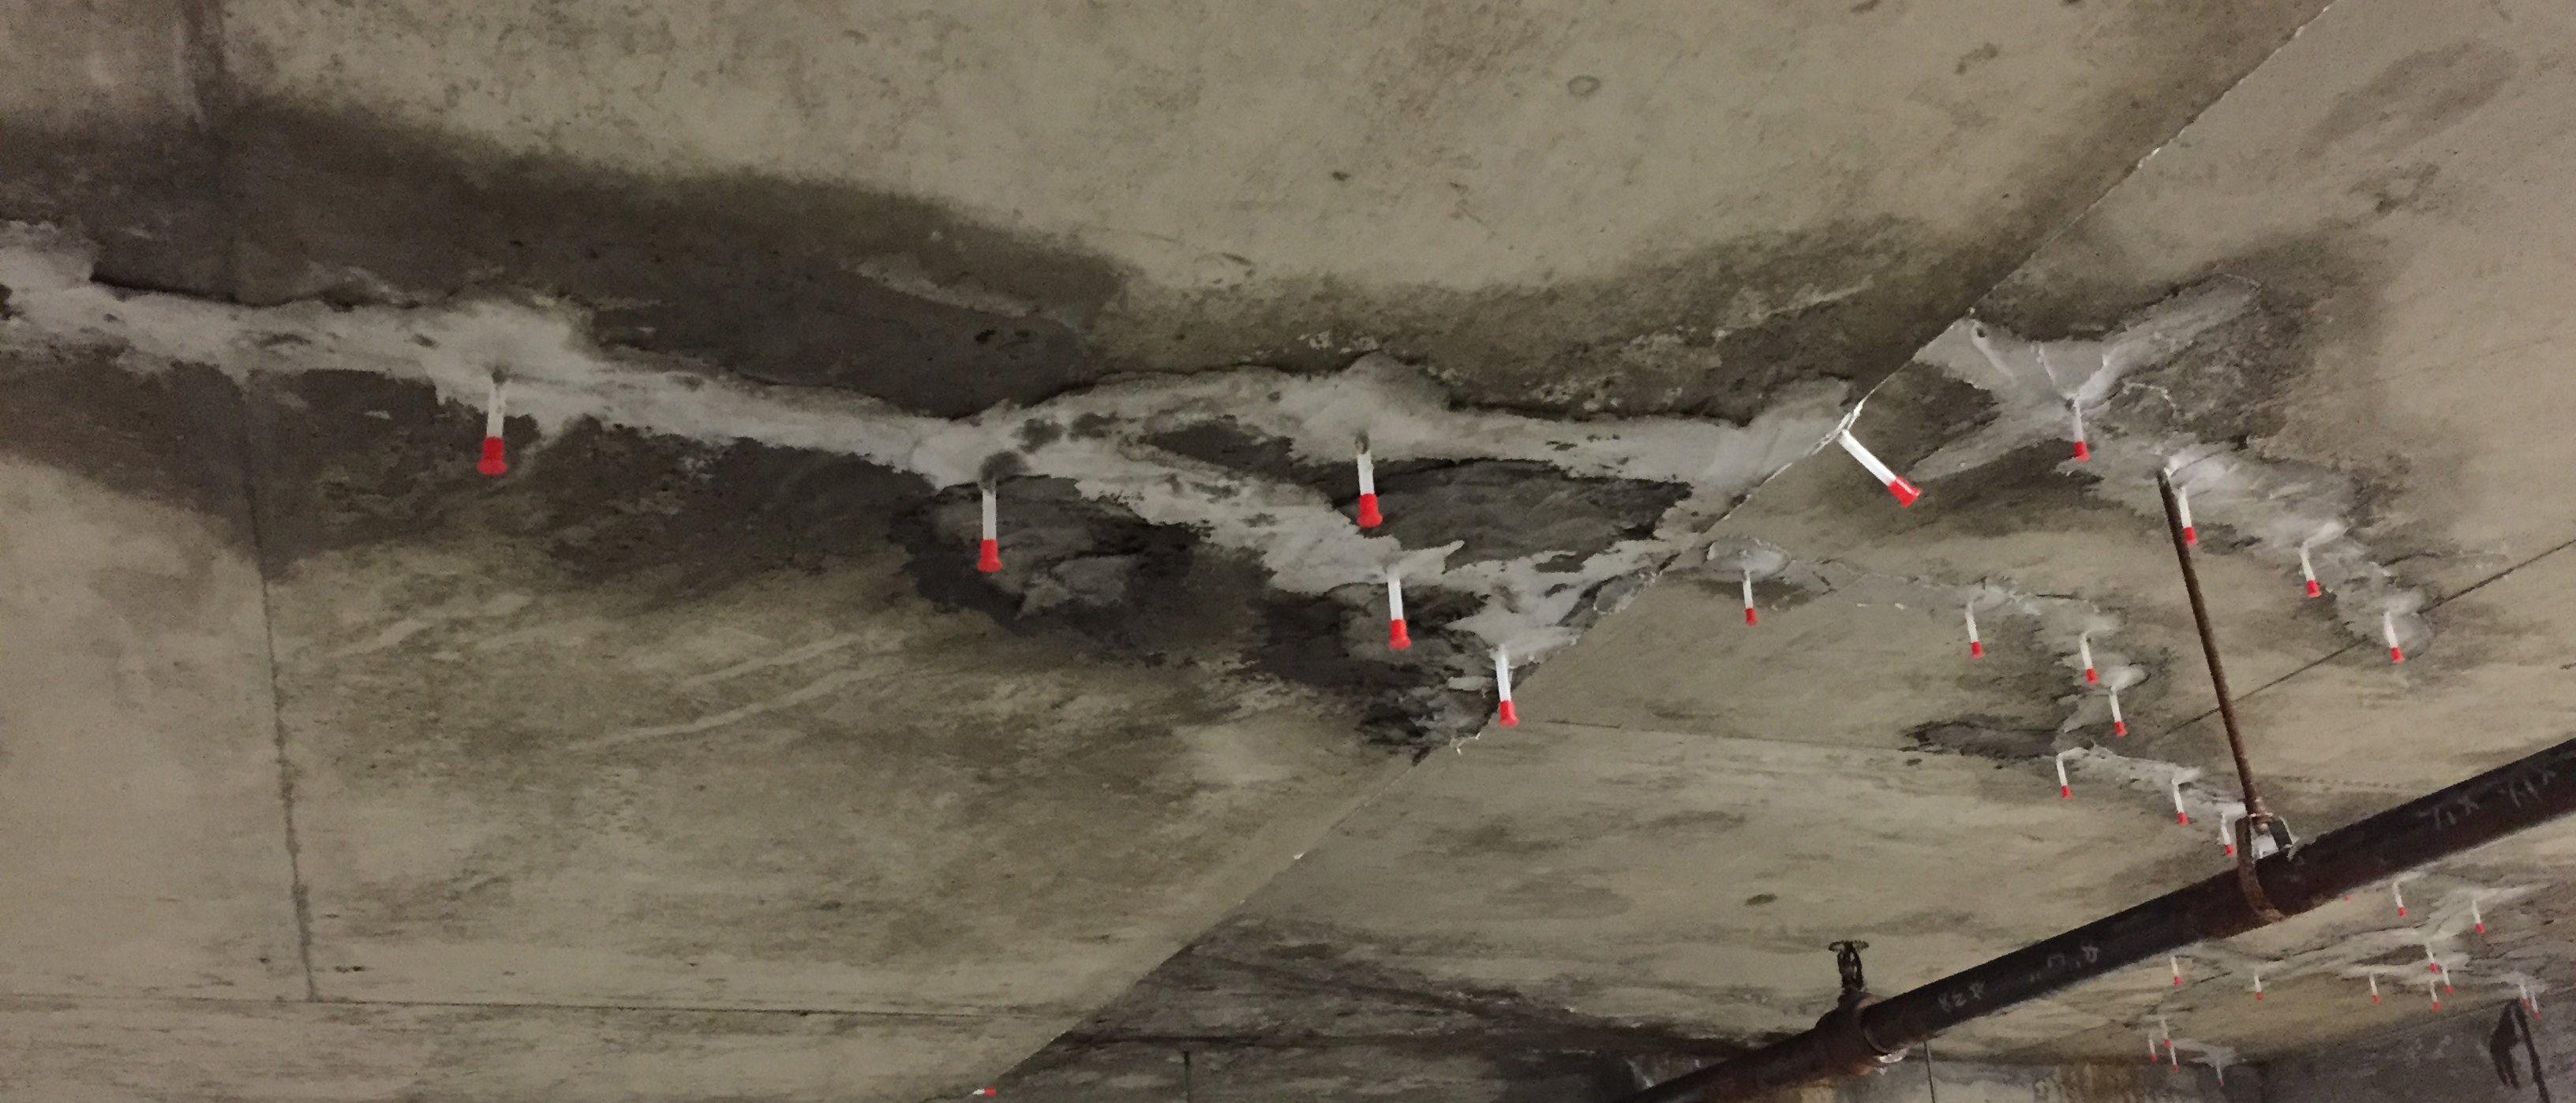
While the process you’ve just started does sound similar to what you’d do when using an injection product, it’s not exactly the same. For example, instead of chiseling out a chase, you’d generally drill holes along the crack’s length if you were going to use an injection product. Then, a port would be inserted into each of those holes to pump in the product.
But if you just have a chiseled chase to pour product into, you won’t get the same effect.
Not to mention, some injections won’t be able to handle movement in the concrete forever. For instance, urethane foam injections typically stay flexible and tolerate some movement. But this flexibility will deteriorate after some time has passed.
Don’t Go for an Epoxy Injection Either
If you do decide to go back and try the injection route, whatever you do, don’t use an epoxy injection. It’s true that this type of injection is meant to strengthen and restore integrity to the concrete crack. But it can only do that if the crack is dry.
Why?
Well, unfortunately, an epoxy injection does not react to water. So it can’t block water leaking out or otherwise change the water’s course. In fact, if the epoxy is injected while a crack is leaking, it might develop channels. And once that happens, water will likely find a way back through the epoxy.
Use Hydraulic Cement and Grout Instead to Prevent Water Ingress
So an epoxy injection is no good. And other injection products aren’t completely reliable. What should you go with instead?
We recommend using both a hydraulic cement product and a hydraulic grout product.
To start, you’ll want to focus on the cement product.
So, you’ll fill in your chase with a rapid-setting hydraulic cement product like Kryton’s Krystol Plug™. If you use this product in particular, you’ll find it hardening within a few minutes. This hardened mass will then stop water from coming through even under high hydrostatic pressure.
Next, you’ll install the hydraulic grout.
A good one to look out for would be Kryton’s Krystol Repair Grout™. That’s because it uses crystalline technology to react to any water ingress. It does this by forming insoluble needle-shaped crystals, which fill in any of the concrete’s capillary pores and micro-cracks. That way, water and waterborne contaminants won’t be able to get past it.
Add Extra Protection with a Layer of Krystol T1®
If you want to make sure the concrete has become a permanent waterproofing barrier, consider using Kryton’s Krystol T1.
To do this, you’ll need to follow these five steps:
- Make sure the surface of concrete you want to apply it to is saturated surface-dry.
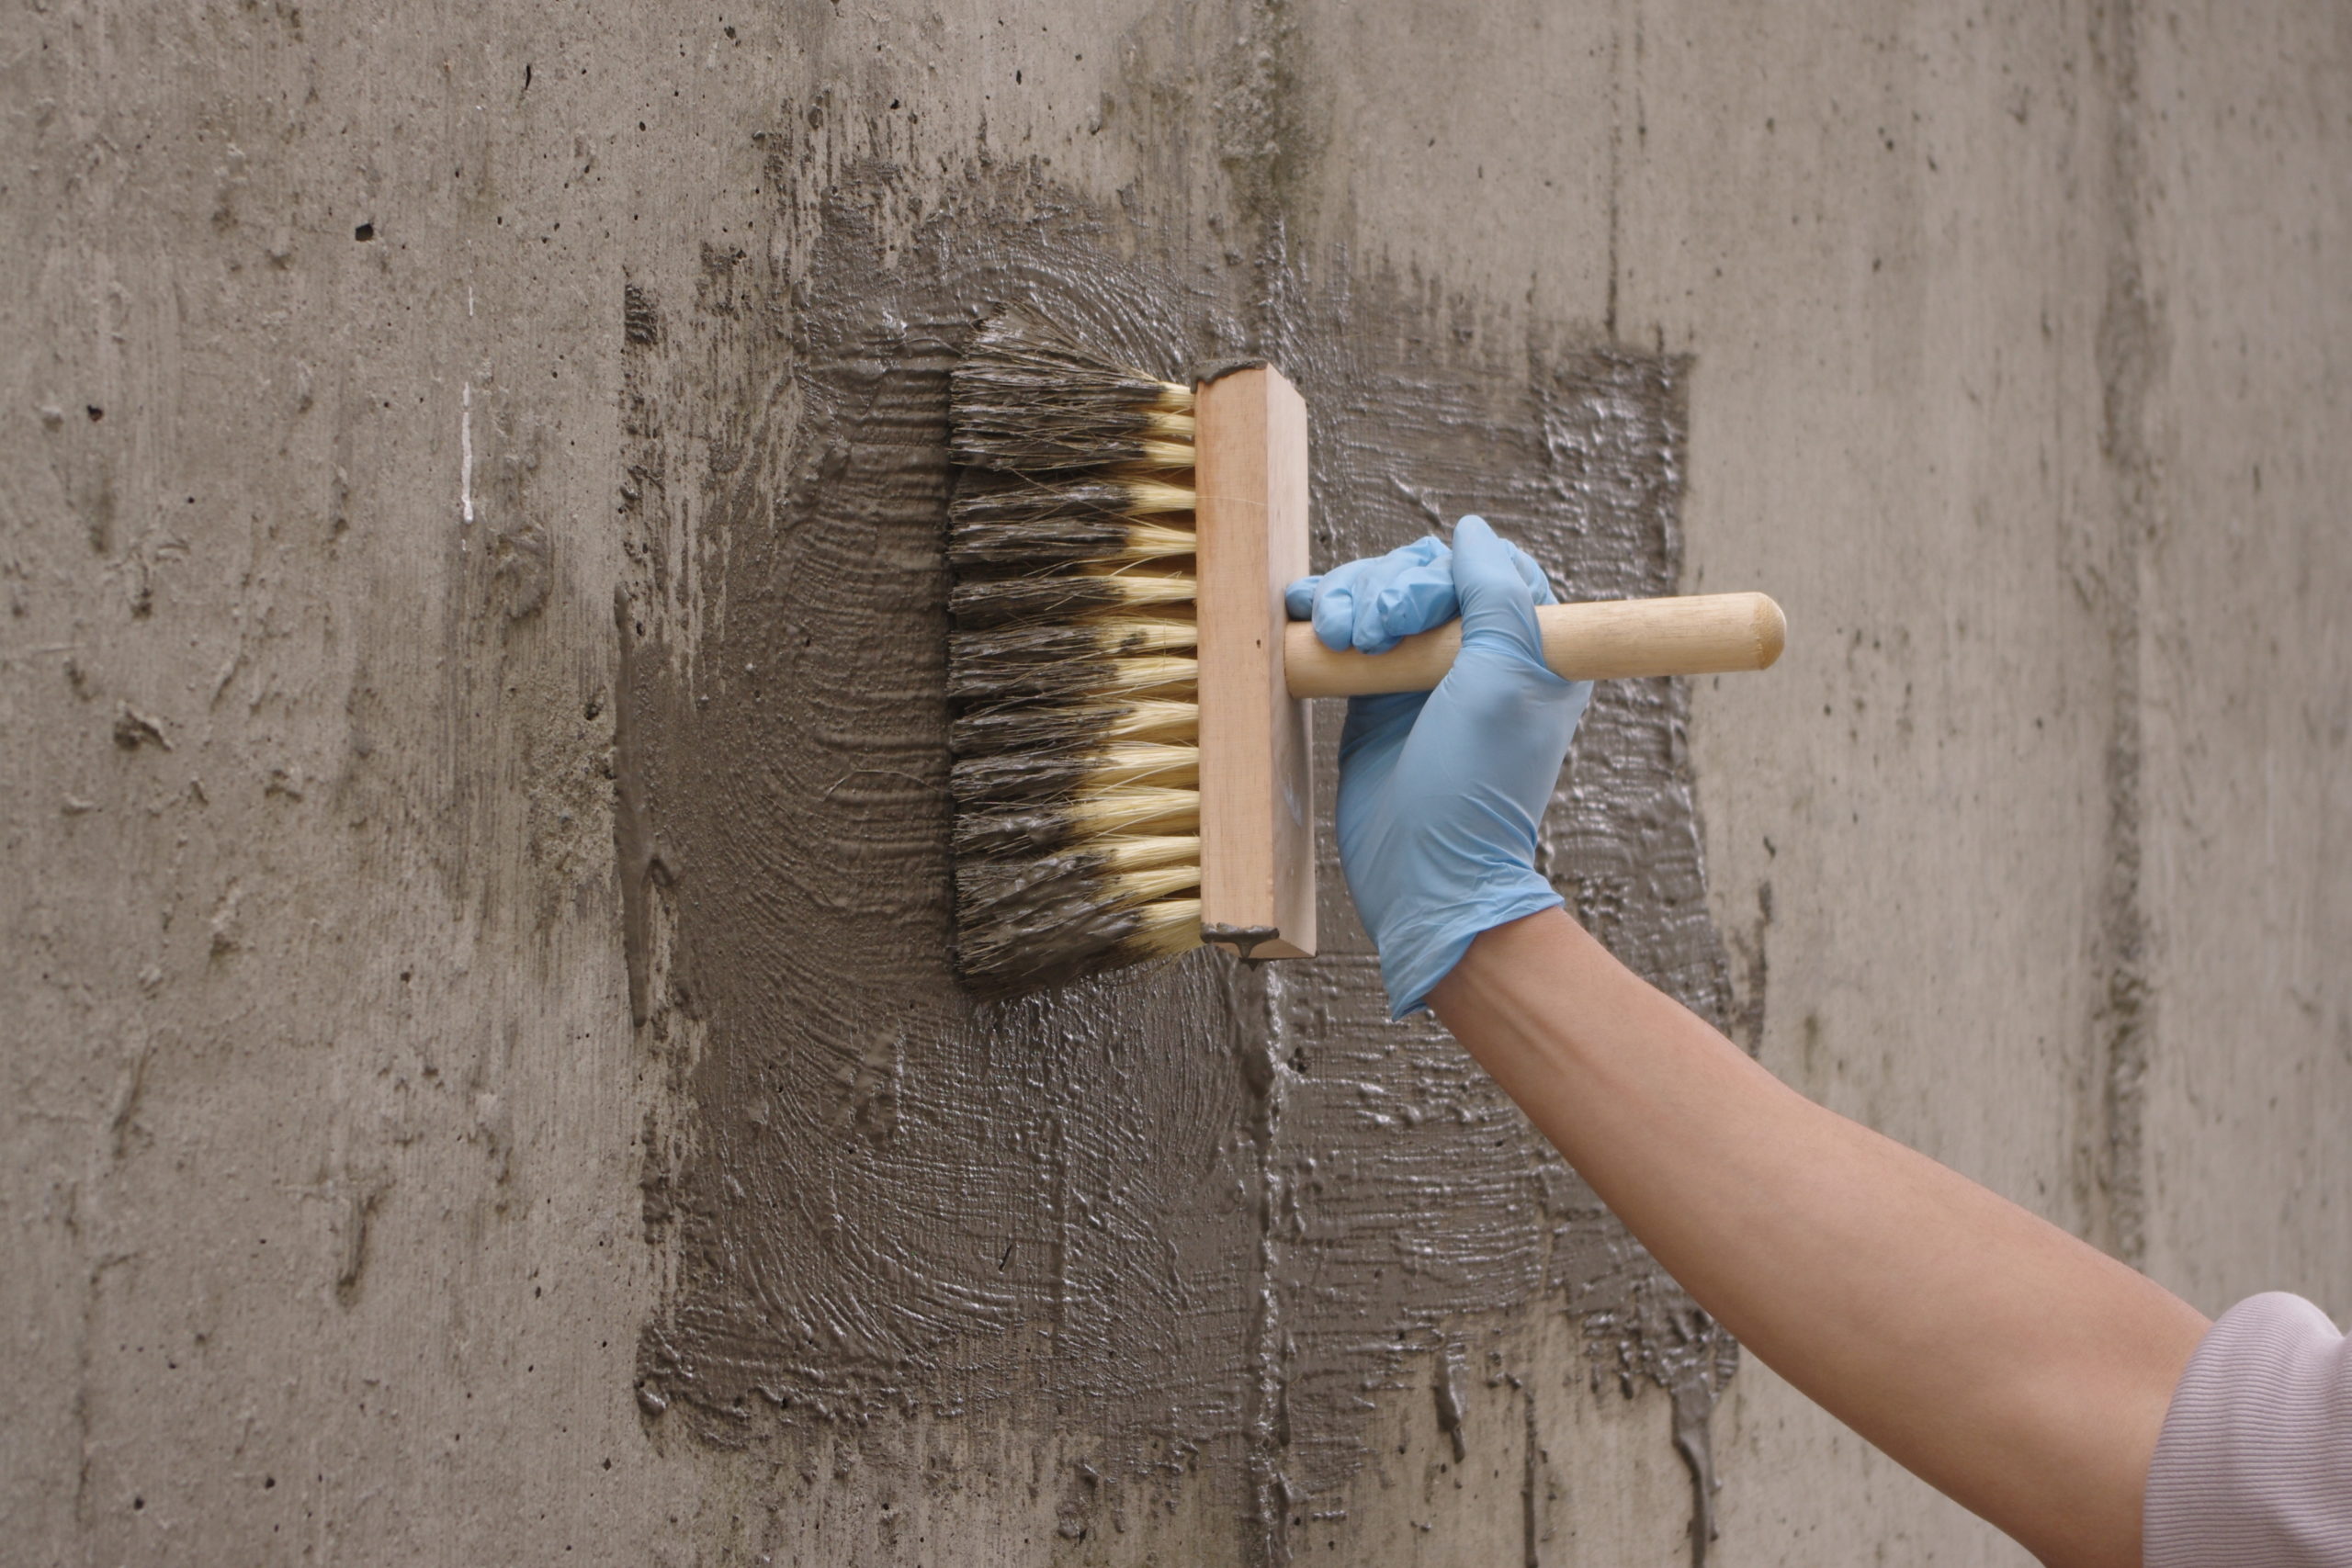
- Mix the Krystol T1 with water, and apply it by brush or spray to the concrete.
- Apply the Krystol T1 to a large area of the concrete, and work it in.
- Keep this area protected from traffic rain and freezing temperatures for 24 hours so it can wet cure.
- Mist the area frequently once it’s hardened.
Congratulate Yourself on Learning How to Effectively Repair Concrete Leaks
Done that last step? Then, pat yourself on the back! You’ve got all the know-how now to repair concrete leaks and keep them permanently protected from water.
Don’t Forget You Can Always Seek Extra Expertise
While our guide here will likely prepare you for some of the worst concrete leaks you may ever face, there’s always room for improvement. After all, it can be quite different facing a leak that happens during new construction.
Luckily, there are many industry experts coming to Vancouver, British Columbia, for the 2020 ICRI Spring Convention. And our very own CEO, Kari Yuers, will be sharing her own knowledge on concrete leak repairs in new construction. So if you’re looking to add more to your concrete leak expertise, save a spot for her presentation while it’s still available!

